
Heat and cooling, one setup
Heat Pump Installation for Peabody Homes
Measured, designed, dated and installed. A cold-climate heat pump that is running and tuned well before the heating season peaks.
An Install Built on Measurements and Dates
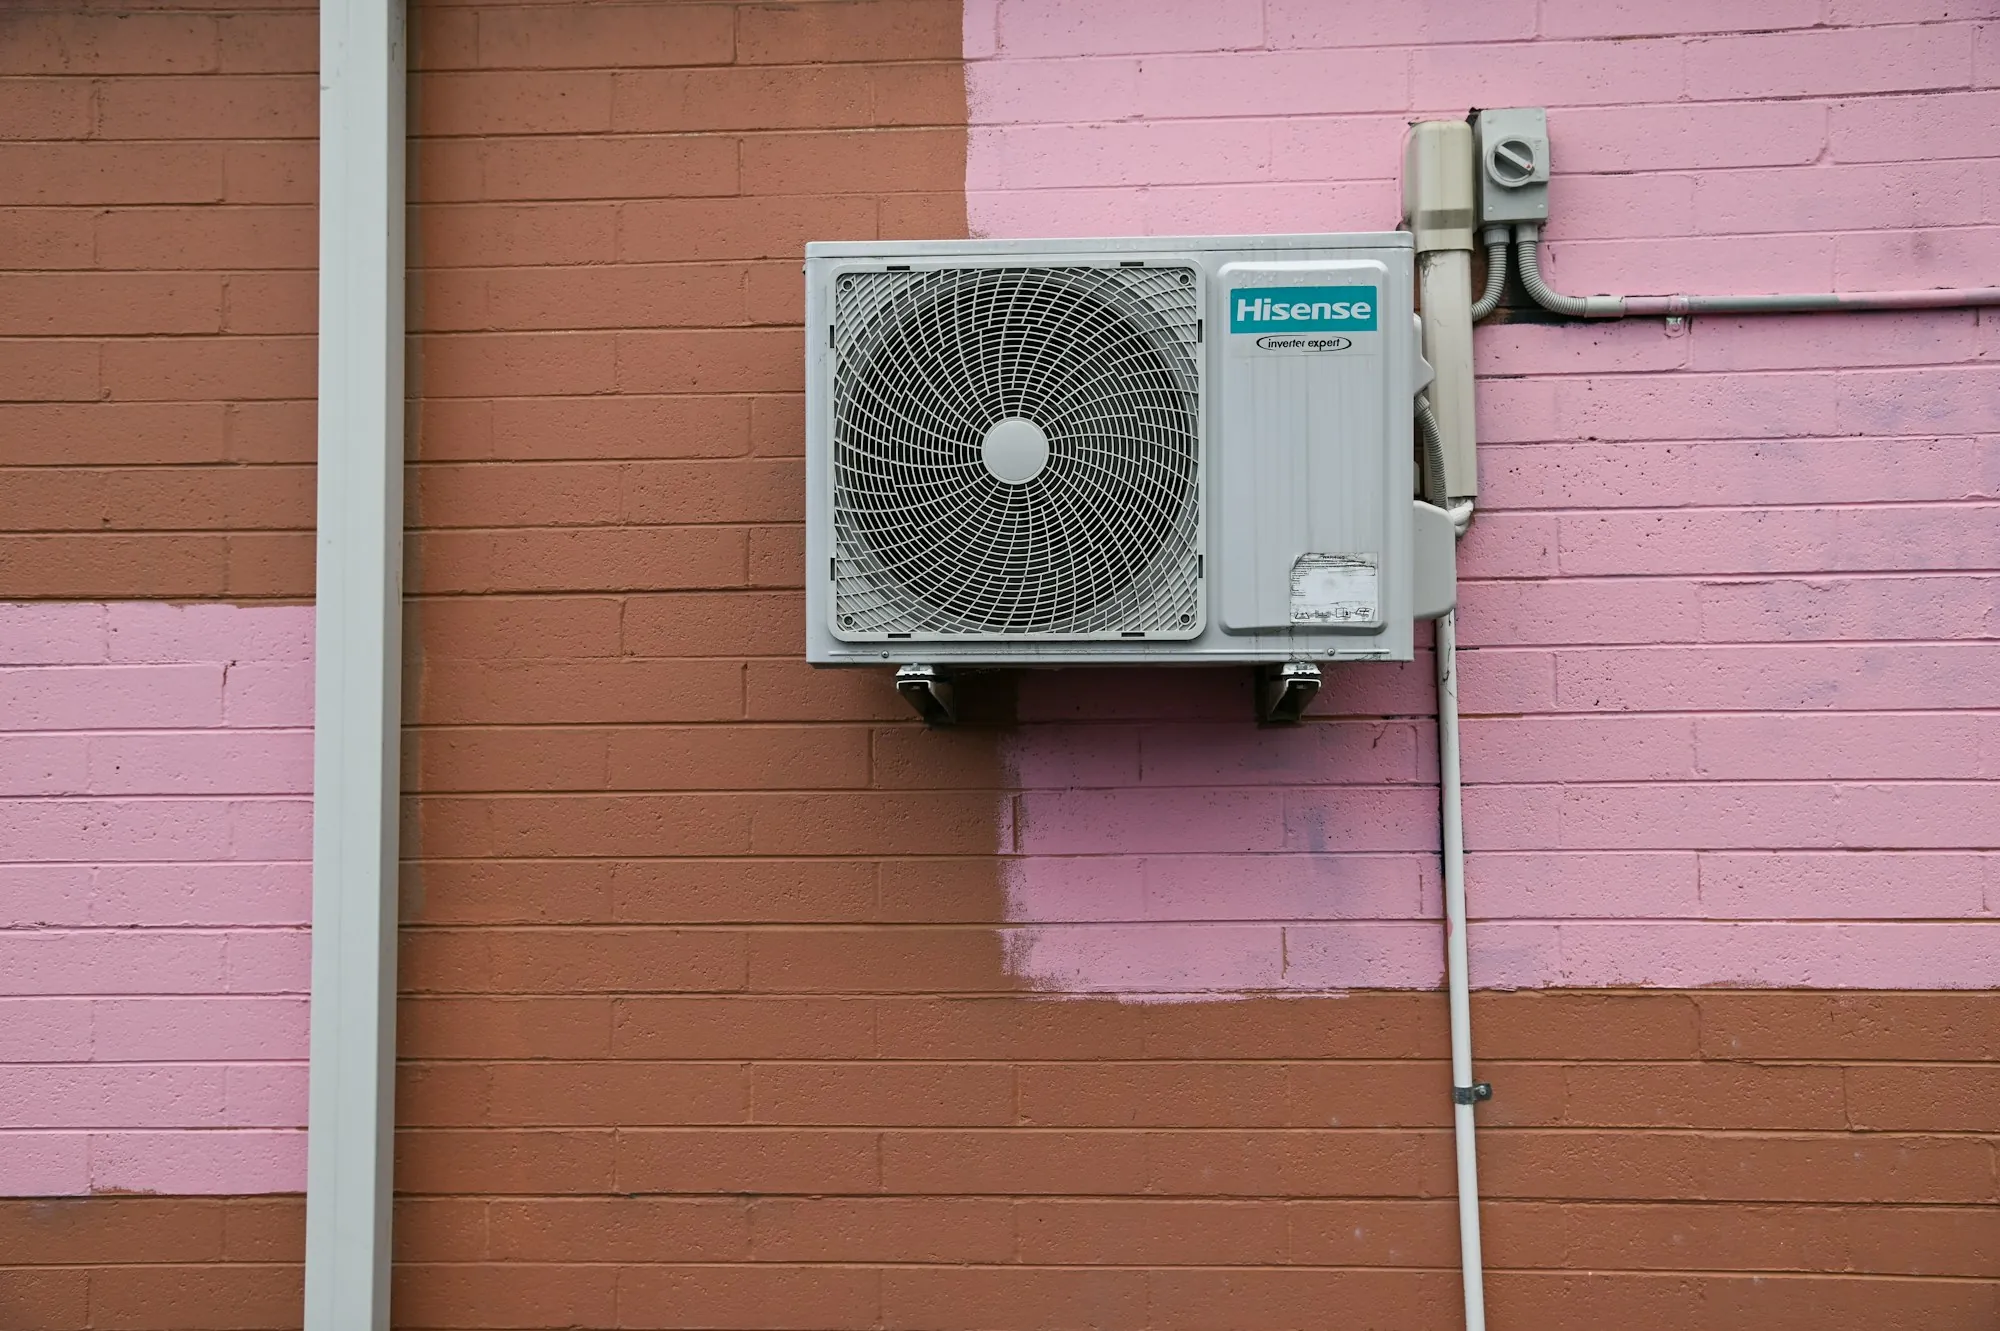
Good heat pump projects follow a sequence. Measure first. Design second. Then order equipment, set install days and stick to them. That order matters because a heat pump does its best work when it is matched to the house, and because nobody wants to be mid-project when the first cold week arrives. Our visit covers each room: square footage, ceiling height, windows, insulation where we can see it and the way heat currently reaches the space. Those numbers feed a heat-loss calculation, and the calculation decides the equipment. Sometimes that means a ducted unit using ductwork already in the house. Sometimes it means ductless heads in the rooms that need them. Often it is a combination. Your proposal spells out equipment, installed price, the incentive we expect from the Peabody Municipal Light Plant or any other program your accounts reach, and the target install dates. On those dates the crew sets the outdoor unit on a raised stand or wall bracket clear of drifting snow, mounts the indoor equipment, runs and covers the refrigerant lines and wires the controls. Before handover, we pressure test, confirm the charge, check airflow and spend time showing you how to run the system so the house stays comfortable from the first cold night onward.
Checklist for Every Installation
The order of operations we follow on nearly every heat pump job.
Room measurements
Dimensions, windows and exposures recorded room by room during the site visit.
Heat-loss calculation
Those measurements turned into the amount of heat each room needs on a design-cold day.
System layout
Ducted, ductless or mixed, with outdoor and indoor unit locations marked before ordering.
Install dates
Target days written into the proposal so you can plan around them.
Snow-safe mounting
Outdoor units raised on stands or brackets so drifts and ice do not block airflow.
Covered refrigerant lines
Lines routed in protective covers along the exterior or through closets, kept short and straight.
Commissioning tests
Pressure, charge and airflow verified before anyone calls the job done.
Owner orientation
Thermostats, modes and filter care covered with you in person at startup.
Installation Timeline
Planning call and visit
First we talk by phone about the house and your providers; next comes a visit to measure rooms and look over the existing heating.
Proposal with dates
Equipment, price, expected incentive and install days set out in one document, reviewed with you line by line.
Install and commission
Units mounted, lines run, controls wired and the system tested, then a full orientation before the crew leaves.
What Owners Count On
Design before ordering
Equipment chosen from a calculation, never from the label on the old boiler.
Dates that hold
Install days set in writing and kept to.
Cold-ready equipment
Models listed to keep heating through the hardest freezes.
- Heat-loss design
- Dated proposal
- Commissioning tests
- Owner orientation
Want the System Running Before the Cold?
The earlier the visit, the more open dates on the install calendar. Ring us and we will set the planning steps in motion.